Login to Ubuntu 22.04 system and run beneath apt command to update package index
$ sudo apt update
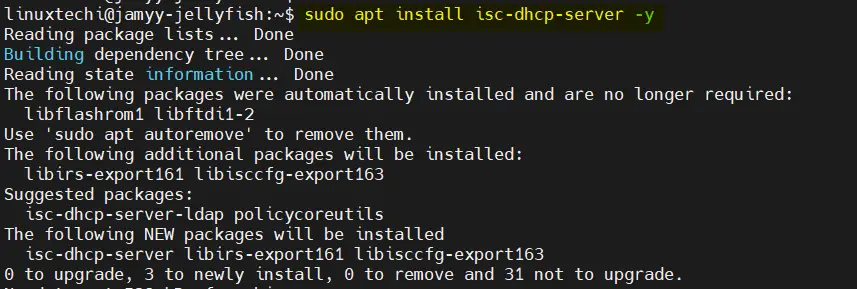
Run following apt command to install DHCP server and its dependent packages.
$ sudo apt install isc-dhcp-server -y
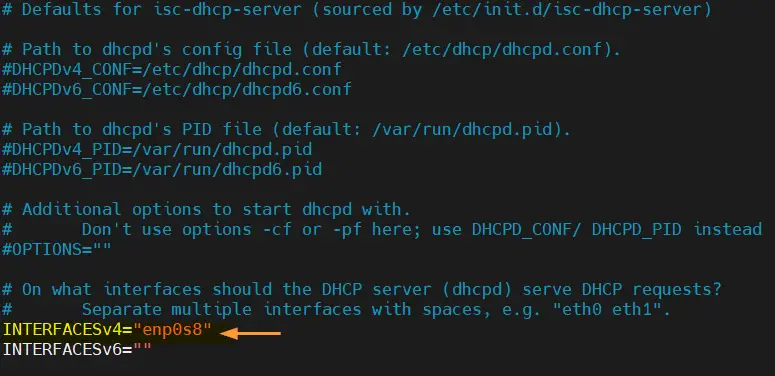
Edit /etc/default/isc-dhcp-server file and mention the interface on which DHCP would be running. In my case it is enp0s8
$ sudo vi /etc/default/isc-dhcp-server
    ----
    INTERFACESv4="enp0s8"
    ----
Save and close the file.
Now, edit main dhcp configuration file “/etc/dhcp/dhcpd.conf” and uncomment & set the following parameters,
Comment out the domain name server parameters as we are not using any DNS server,
#option domain-name "example.org";
#option domain-name-servers ns1.example.org, ns2.example.org;
Uncomment
authoritative;
Add the subnet and IP address range to be used for DHCP Server. Also specify the ip address of enp0s8 interface as routers.
For the group 1
subnet 192.168.0.0 netmask 255.255.0.0 {
      range 192.168.10.100 192.168.10.150;
      option routers 192.168.0.1;
      option subnet-mask 255.255.0.0;
}
Add the subnet and IP address range to be used for DHCP Server. Also specify the ip address of enp0s8 interface as routers.
For the group 2
subnet 192.168.0.0 netmask 255.255.0.0 {
      range 192.168.20.100 192.168.20.150;
      option routers 192.168.0.1;
      option subnet-mask 255.255.0.0;
}
Save and exit the file

Start and enable dhcp server service using following commands,
$ sudo systemctl start isc-dhcp-server
$ sudo systemctl enable isc-dhcp-server
Verify dhcp server service status, run
$ sudo systemctl status isc-dhcp-server
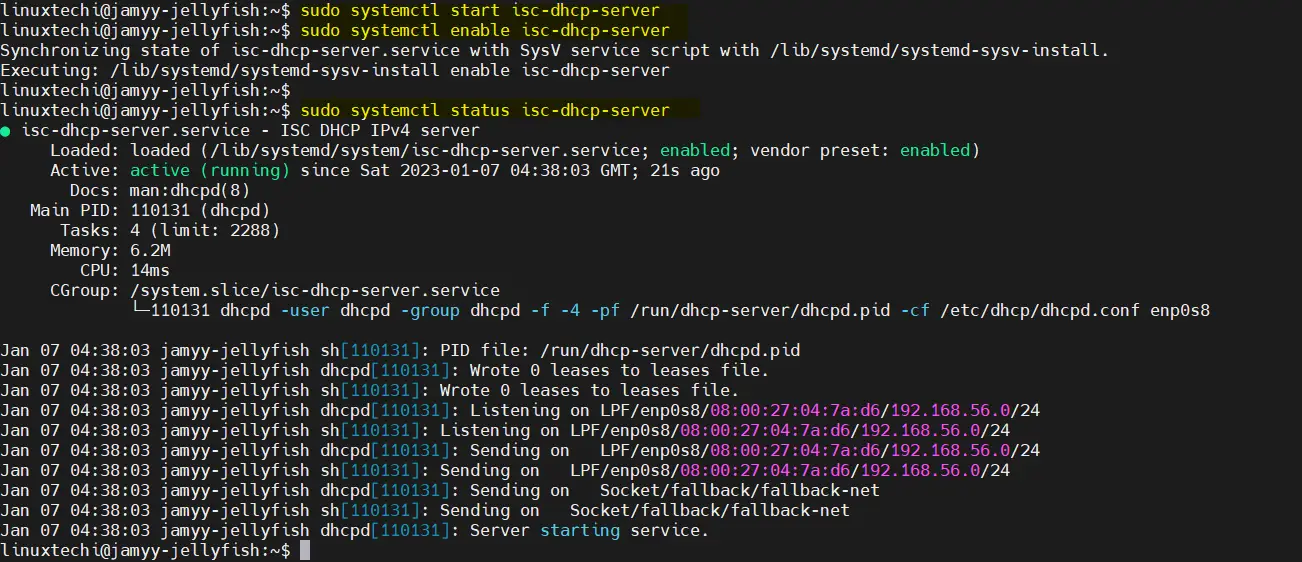
Output above confirms that DHCP server service is up and running. Now, it’s time to configure client so that it can get IP address from this DHCP server automatically.